I woke up this morning and had no idea what to do with myself. The weather is crappy, and I just didin't have a game plan.
What better time to update the blog?
I haven't been doing much over the last month - between the weather and the winter slow-times, I'm just not feeling it. I do have a few things to report though.
The first is my Adventures in Plumbing. "But Sarah?" you ask, "You just had most of the plumbing dealt with in the crawl space under the bathroom?" Righty-o. I did. The one part I didn't have them replace (because it wasn't causing any problems), was the waste line for the toilet. Over the last month or so I'd noticed that the grout lines around the toilet were getting crusty and tuning a rusty color, (it's supposed to be light grey.) A quick consultation with Ian lead me to suspect that the wax ring was shot. One Saturday a few weekends ago, after talking to a coworker who's done this a number of times, I buckled down and replaced it.
 |
| First, I removed all the water. It's a good thing I've gotten good at syphoning water out of the fish tank - that skill came in handy here. There was a curious amount of debris in the bottom of the tank. I'll be interested to see how fast it builds up now that the whole house is on a filter due to the radon tank. |
 |
| Oh dear. |
 |
| This isn't good. But I had been told not to expect to reuse the bolts anyway. I had new ones on hand. You can see the discolored grout here pretty well. |
 |
| Yup, that's a problem. A smelly problem. Anyone who's ever had the pleasure of experiencing Girl Scout camp latrines knows the aroma. |
 |
| Cleaned up as well as I could. That little putty knife was sacrificed in the process, as well as a wad of steel wool. If I had known the flange was in such shape as I found it, I would have had the plumbers do that at the same time as the rest of the plumbing. It works, but it's not ideal. A lot of it has rusted, and I"m not sure what the state of the subfloor is around the front there. But I just needed a functional toilet. If/when the bathroom gets redone, it will be a area highlighted as "special concern". |
 |
| New clean wax ring! Shiny new bolts! |
 |
| And the throne, back in it's rightful place. |
I'm ever so glad that a while back Ian had helped me replace the supply line in - the old one would have certainly disintegrated during this project. Toilet installation, while heavy, and a little smelly, proved not to be rocket science. I think it's done the trick so far, but it's hard to tell because that grout discoloration appears permanent. I'll keep an eye on it.
After that, I decided to use up the rest of the lime mortar I had in the basement to repoint the basement walls. I had used what I needed to repoint the chimney down there, so this was left over. it was getting chunky since it had been in the basement for a while, and there was no time like the present. I figured to continue on the front wall where I had started with the repair of the coal chute. I went back to find a picture of where I left that, but couldn't find anything but in-progress pictures from the outside.
 |
| Mixing the mortar by hand. Not efficient, but was all I could do. Appropriate lime mortar sourced from LimeWorks. This is NOT portland cement. Portland is too strong for this - you want the mortar to fail before the rocks do. If you've ever seen where the bricks have crumbled out of a wall, leaving behind the mortar skeleton, that's where Portland was probably used inappropriately. It will do the same thing to certain rocks. |
 |
| Smooshing the mortar and water together. Eventually you get a feel for what's too wet/too dry. It's a lot like making a pie crust. I erred on the side of a smidge too wet, but it all got on the wall. |
 |
| Here it is, smooshed between the rocks. 2.5 bags of mortar got me this far. It's not a beautiful pointing job with fancy ribbon work. It's literally fancy mud, smooshed into the cracks by hand. I only used the trowel to mix it. It's going to take a lot more to do the whole basement. |
All this repointing became a lot more important because I had been in the process of cleaning the basement when I discovered I had a guest.
 |
| I had the shelves all pulled apart to clean and organize. I had no idea just how many cans of paint I owned before I did thiis. It's a lot. |
 |
| I went to hang a crowbar off a nail, when my cave(wo)man brain registered DANGER WILL ROBINSON PAY ATTENTION TO THAT THING RIGHT NOW. The undignified noises and interpretive dance that occurred was, in a word, *magnificent*. |
 |
| Here's the rub - I had crap *everywhere* but on the shelves. And Sampson The Surprise Ceiling Snake, (seen right above the bend in the white radon pipe) had no intention of slithering off into his wall while I had the heat on. A civil accord was reached. He would stay Right Where He Was and promised not to jump out of the joists, and I would hurridly and carefully work around him. |
 |
| Yes, most of the pictures are from the far side of the shelves. I got it done, told him he had to stay downstairs, and beat a retreat to the relative safety of upstairs. |
I know that snakes have been in this basement before. I found the shed skins when I was doing the initial cleanup the spring after buying the place. But I thought that was because the basement had gone unused for so long. I didn't think they would want to hang around (har har) when there was coming and going. I was very mistaken. Now I know to look, and Sampson is chilling (rather, warming), on his electrical wire hammock pretty regularly.
I have no problem with Sampson being an outside friend. I would strongly prefer that be where he stays. This year, the sills and likely some water issues will be dealt with, then more mortar, and he'll have to find different accommodations for next winter.
The only other ting I've been up to is making leaded lights for Ian's shop. He put up a Dutch inspired building on his property in NY to house his shop. I offered to make the lights if he would buy the materials. It's been a few years since I did this, and getting started was rough. (There's always a fear of screwing it up). I eventually did the first prototype, relearned more than a few things along the way, and it's ready for him to try out.
 |
| The first cut of anything is the hardest. In this case it can cut you back, so preparation and safety are key. |
 |
| Making progress. (At this point I didn't know Sampson was likely hanging out just around the corner.) |
 |
| Dry fit. |
 |
| Soldered. Man, my soldering skills are *terrible*. I put the saddle wires on at this point before cementing. It is unclear from the diagrams and pictures that I can find if these should be wires or lead tabs, but wire is what's readily available to me. Working around the poky wires was a pain in the neck, but I think that the oils in the cement, (it's essentially glazing putty,) would make it impossible to solder them on afterwards. |
 |
| Cemented and ready to go off to it's new Dutch casement home. I'm not starting on any more until I know this one absolutely fits. (He needs three more this same size and shape.) |
That's what I've been up to. I still don't know what I can do with the rest of my day today. I'm going to go wander through my spreadsheet and see if anything jumps out at me. But not Sampson. He doesn't jump. He stays right in his corner of the basement.
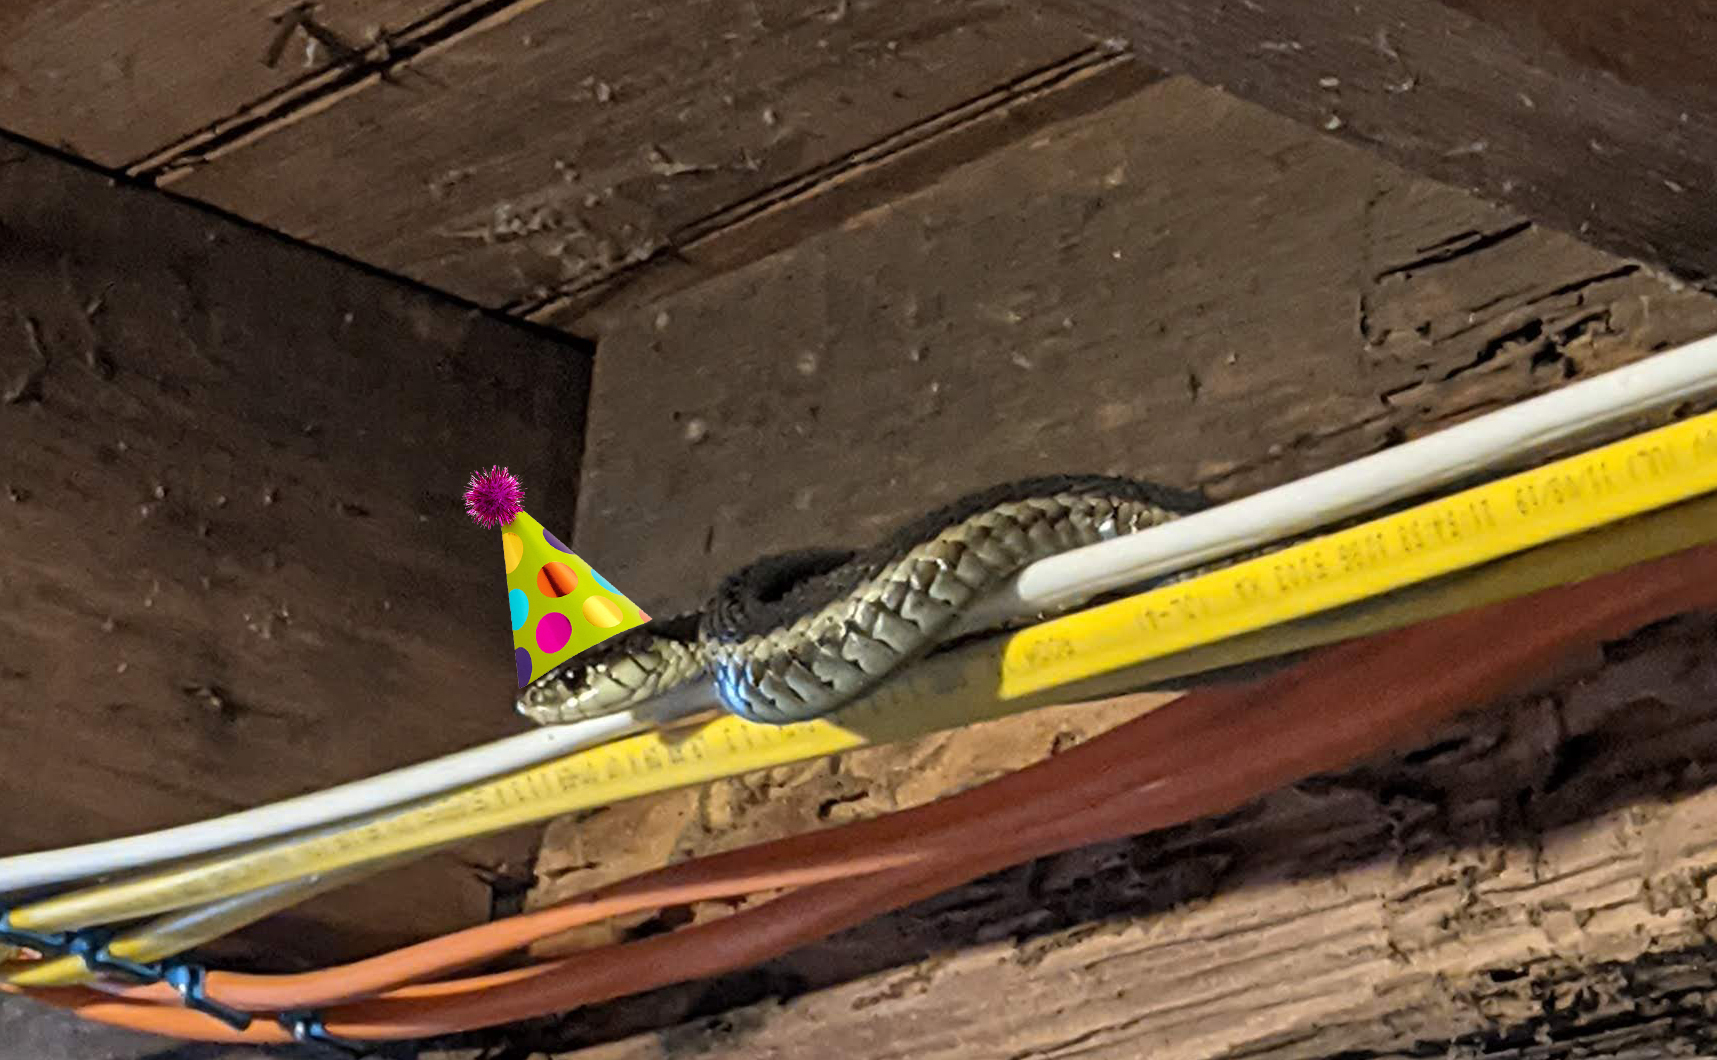 |
| I like to envision Sampson with a little party hat on. They say any creature with a silly hat on is more approachable. I don't know who "They" are, and I don't know if it's working for me, but here's Sampson in a party hat for us. |