Part of the bathroom reno is dealing with the tile.
I've removed all of the 50's era green tiles. The white 8" are still on the floor so I have somewhere clean to walk. They will be removed and replaced with cleft Montauk Black slate. (I couldn't decide between cleft or honed, and went with cleft - in hindsight, I think I would have preferred honed.) It's too late now, the money is spent that the tiles are sealed! Painstakingly, one at a time so the grout won't stick to the top surface.
 |
My faithful helper. The tiles are glossy because they were still wet with sealer here.
|
 |
Once they dried, I laid them out to stagger them so there wouldn't be a repeating pattern. Slate is a natural stone, so no two pieces are the same, but some are very similar. I also didn't want it blotchy with all the dark ones in one section and all the light ones in another.
|
This past weekend, I found myself with a few hours so I took a tile that featured both light and dark area and went to Lowe's to look at wall and accent tiles. They should really have a bench so you can lay stuff out next to each other in that area.
 |
1. Slate with a lightly textured white subway tile with black/grey encaustic looking tile.
|
 |
2. Slate with the same lightly textured white subway tile and a more heavily textured mosaic.
|
 |
3. Slate/white crackled subway tile with an aged blue mosaic.
|
 |
4. Same, but with the mosaic in greys.
|
 |
5. Slate/beveled subway tile with a marble chip mosaic.
|
I think my order of choice is 2, 4 and 5. #2 gives a little interest without being married to a color. #4 gives more interest without an added texture, and nods ever so slightly to the historical. #5 is just super traditional and timeless. You can't tell in this photo, but you could warm or cool the room with whatever color accessories you added.
#3 is right out because there's deep unfilled tiny pockets in that tile that would be a bear to clean. I like #1, but I think the pattern is too big for the space.
I might mosey up to Home Depot later and do the same exercise with their stock.
I've been working on the door to convert it to a pocket door. This involved removing the 6+ coats of paint, sanding, conditioning, filling and priming it.
 |
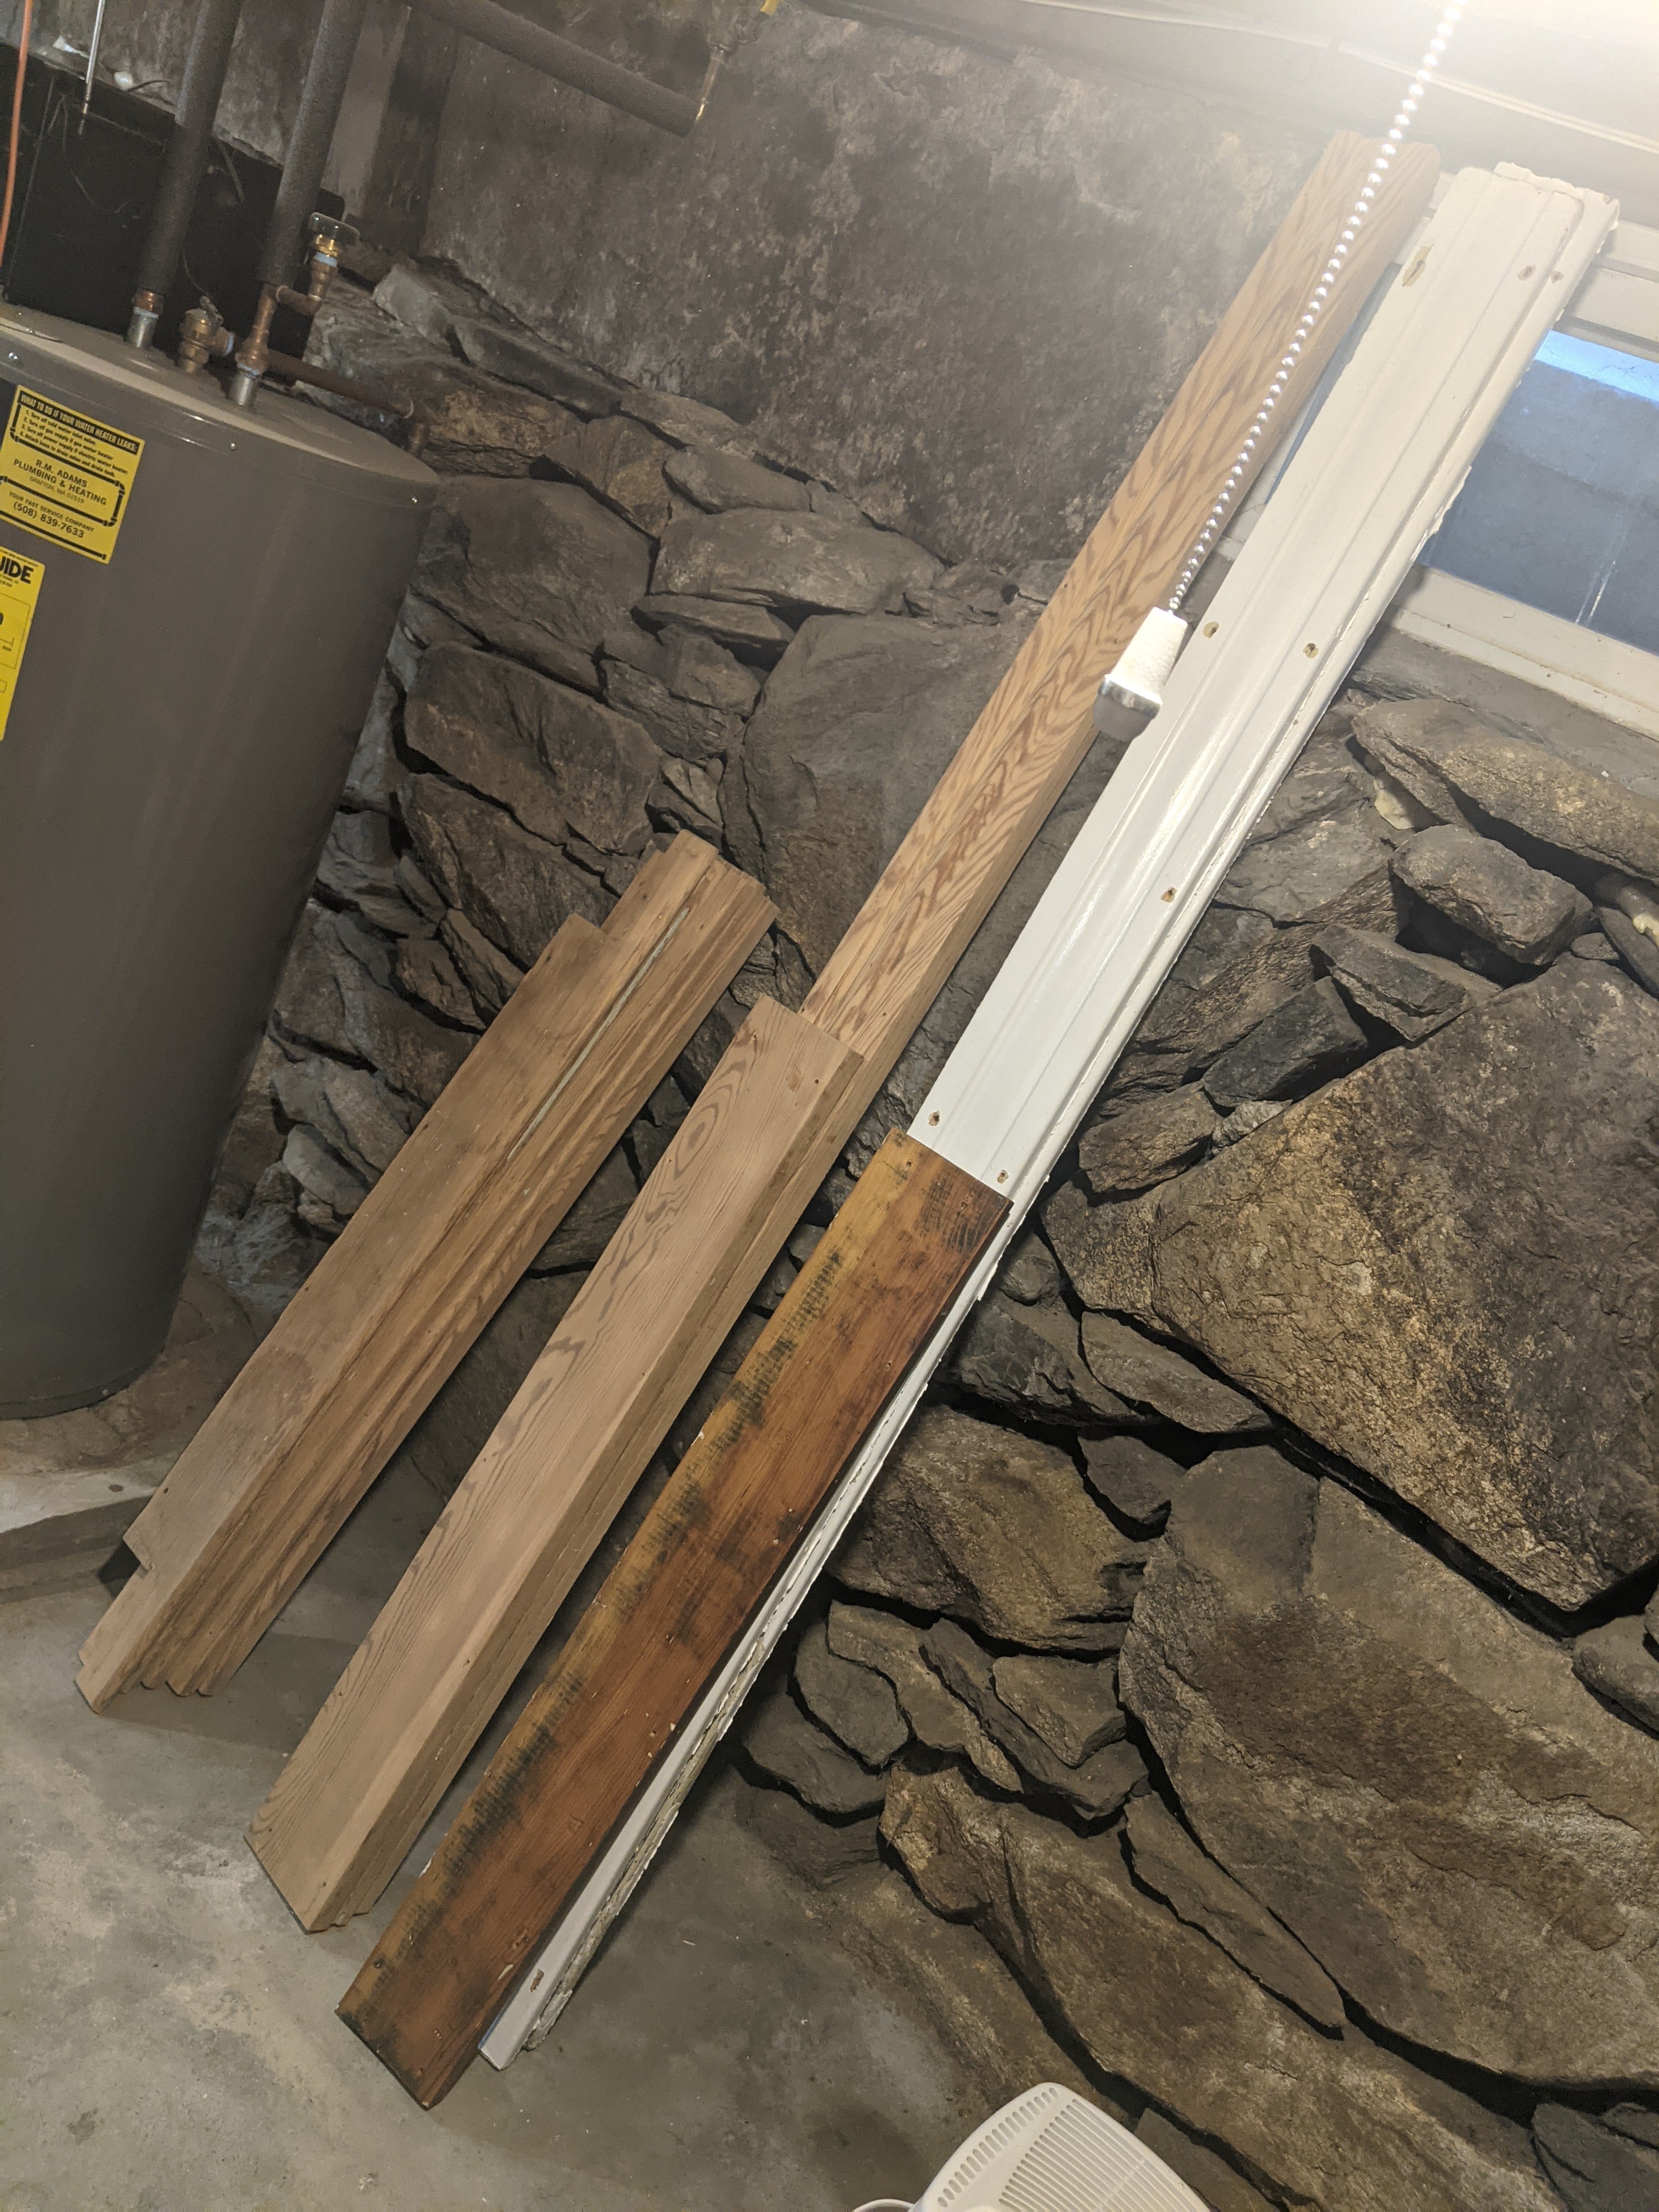
The door is on it's side way in the back of this image. The side facing the bathroom was painted to match the same green as the walls. The side facing into the dining room was painted white to match the trim in there.
|
 |
Stripping stripping stripping. A curious detail began to emerge.
|
 |
This weird detail. The door was painted, originally, to have this shadow on it. The inside was brown, the outside was white.
|
 |
And here you see the whole door stripped down with the weird detail on the bottom and right side, but not really along the top (it tapered up and off the edge) and nothing on the left. This was clearly done on purpose, but why? What was it meant to look like, or be? Furniture? Curtains?
|
 |
I'm not the first person to reuse this door. In the previous picture the edge closest to the camera had a strip added to the bottom to make it taller. Here we see a dutchman someone added to move the hinges. This also means the door used to swing the other way.
|
 |
Thank goodness the bathroom side of the door was originally shellac'd. It made stripping this side so much easier. Also got a contoured scraper with changeable blades - that helped.
|
 |
On to the sanding!
|
 |
Dining room side sanded.
|
 |
This door has seen some sh*t. Even with all the stripping and sanding, this area at the bottom of the bathroom side was so beat up, I finally left it alone. It seems someone enjoyed kicking this door open or closed, often.
|
 |
Lots of scars. This is *not* the side with the wired paint shadows.
|
 |
In order to make this a pocket door, it needs different hardware. This old mortise lock pocket needs to be filled.
|
 |
Lots of sanding and shaping later, it fit.
|
 |
Then the pulls needed to be bored out. I made it fall over where the old hardware was so that it would stay consistent with the height of the other doors in the dining room.
|
 |
The bathroom hardware is all going to be brushed nickle, so the other side of the door got different hardware. Since you will never see both sides of the door at the same time, I was cool with it not matching each other, but rather matching it's own room.
|
 |
The old lock hole blew out and needed to be filled.
|
 |
There's a lot going on here. Clamps to hold in the mortise pocket block, clams to hold the tiny lock filler piece in, lots of fiddly bits of wood and LOTS of wood glue and filler...
|
 |
But in the end, it sanded up nicely.
|
 |
| Sanded. |
 |
Hit it with a 50/50 mix of boiled linseed oil and turpentine - this is a trick I learned from the window restoration people. It helps condition the really old dried out wood to receive paint better.
|
 |
So beat up. I wonder if this side faced an exterior at one point or another.
|
 |
Oh but wait. This is going to be a pocket door. Which means that the exact size door that swung into a casement is going to just barely give you coverage as a slider. So I needed to tack a strip on the back end for privacy and stability. It will be in the wall, so it won't be seen - so where's that furring strip I had laying around from my window project?
|
 |
Strip added. It "matches"the old strip added at the bottom. Not a bad job for a furring strip that was about as straight as cooked spaghetti. A lot of GRKs, hand planing, filling, and sanding happened here.
|
 |
And the first coat of Kilz oil-based primer is on! So close!
|
Might need another coat of primer and a light sand before final paint (B.M. "Super White" Gloss). Hopefully this week will see the end of the door project!