Thursday, March 28, 2019

Moisture!

Yesterday I had a guy out to give me a price on how much it would cost to have a sump pump installed. It has to be a fancy air-tight sump pump, otherwise it will void the radon system warranty. The rough price is about $2k. This kills me, because a typical sump pump is about a quarter that cost.
At this point, I'm not convinced that I need one though. This was more an exploration for down the line. First and foremost will be the gutters and repointing, which I'm pretty sure will solve about 90% of my problem.
The first gutter guy had reached out to see if I was still interested and offered to let me pay in installments. He was professional and polite, and his price was right, so I told A&G Gutters yes. Within the next few weeks the house will now sport gutters on the east and north side. It won't be fancy. It'll use the rod hangers (which offend my aesthetic, but the pitch of the roof won't work with anything else). They will be functional and keep water from pounding on my foundation.
Spring is trying!

Soon, soon my oil tank won't have to stand in a puddle.
Hopefully this further reduces the amount of moisture headed up to the attic to feed the mold.

Monday, March 25, 2019

For every "easy" project, there's that other "easy" project.

With the closets nice and freshly painted, all I had to do was put the closet rods back up. But the closet rods, probably about 100 years old if they were a day, were terribly swaybacked. Off to Home Depot we go!
There were three closets that needed new rods. One was a half-height eve closet, and it had hand-cut little wooden braces to hold up the rod. It was also about 30" wide. Awesome.
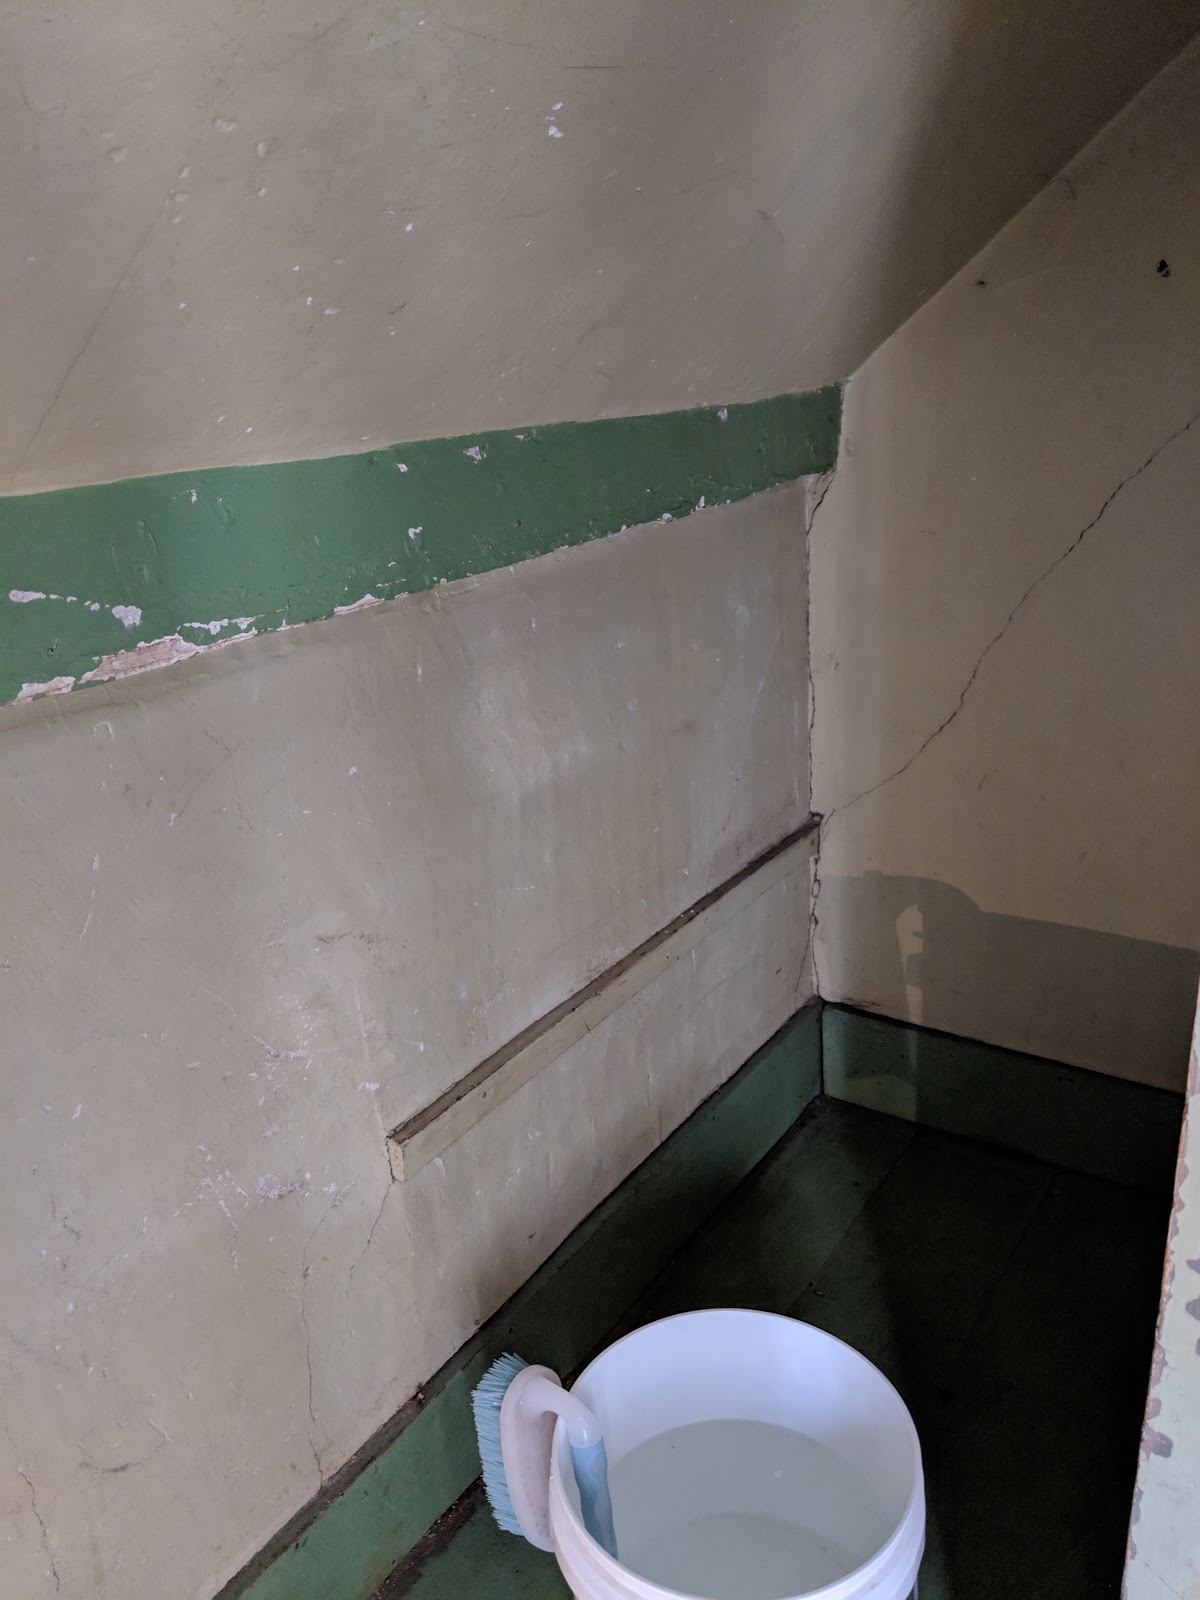
The other two closets are the New closets, and they use 1" pipe flanges for the rod pockets. This is not terribly unusual - my grandfather did the same thing in his house. But they had used 1" wood dowels instead of a length of pipe as the rod.
One closet is about 38" wide, the other is about 42" wide.
Modern hardware stores only carry 1" oak dowels in 36" segments.
You see my predicament.
I bought 3 dowels, and cut the one to length for the old closet. It fits perfectly.
The other two... well.
At first I bought a selection of "nipples" - little threaded pipe segments meant to extend the flange. And it would have worked, functionally. It looked so terribly cobbed, I just couldn't let it go. Back to Home Depot I went (luckily, it's not that far away).
I returned the two dowels and all the nipples. (Yes, I snickered inwardly like a 12 year old every time it came up on the register.) I walked over to the pipe section, flange in one hand, old rods in the other, and had the nice man cut me 2 sections of pipe and thread them.
I should be able to come home, thread the pipe into the wall and be done, right?
Wrong.
One flange in each closet would not come off the wall, due to stripped screw heads and time. My thought was to over-thread one end, screw the pipe into the frozen side, and then back out the movable side to the wall. Easy peasey.
Nope.
The original rods must have been exactly the width of the closet, with no play. Now I had pipes that I couldn't thread into the flanges because there was no wiggle room. I had to get the frozen flanges off the (freshly painted) walls, even if I had to cut the buggers off.
Closet rods get serious.
With a great deal of mechanical persuasion, I got the flanges off the wall and threaded them onto the pipe. By the way - never trust the stock thread on black pipe - have the nice man re-cut them or otherwise make sure they are clean and clear. There's one that would only go on half way, and it's because of the stock thread - all the other fresh cut threaded ends were fine. I wedged them back where they belonged, and went to screw them down.
Never, ever fall prey to the pretty brass screws. I know they claim to be wood working screws, and they are pretty. They are a terrible lie designed to make you cry with frustration. Just get the plain old ones. You'll thank me.
Two stripped and one bent brass screw later, I just put back the messed up old slotted screws. They aren't pretty. They are functional. It is a closet, no one cares. In the future, I might replace them all with slightly longer screws, but they are fine.

After the rods were finally up, I put up a bunch of little LED motion activated and touch lights. In a perfect world these would all be wired, but I don't have HGTV's budget, so battery LEDs are solving the problem. Motion lights in the tall closets, touch lights in the short closets.
Touch light.

Touch light.

New pipe rod and motion light (pre-shelf).
No one will ever have to worry about sagging rods ever again.

Pipe rod/ motion light (post shelf)

And with that, the saga of the closets is officially done.

Vindicated

I know everyone's probably bored to tears hearing me wax on and on about paint color choices. Especially about how very disappointed I was with "Fresh Cotton", aka Warm White. Most people would have been able to shake it off, laugh, and go get a new paint color. But this got under my skin and really bugged me. I could see it in my head, and it worked, so why wasn't it working in real life?
In real life I'm a graphic designer. Color theory is a Thing. Being able to pick colors accurately is Kind of A Big Deal. To not be able to pick a color accurately, for my own walls, even if it was just for a closet, became something of a professional failing for me.
I hemmed. I hawed.
I bought new Ultra White paint.
But it didn't feel right.

The revelation came after coat #3 in what I'll call the "new" closets. These are the closets in the bedrooms over the kitchen and dining room. They have the tight Victorian floors, and someone took the time to put those floors clear into the closets. After coat of paint #3, "Fresh Cotton" finally presented as it's actual color. And I kind of liked it. Against the wood floor, it wasn't bad. It was warm white, the way I thought it would be.
In the other closets, it was still presenting like crap. There was a number of variables - one, the material. New closets are made out of some flavor of wallboard (paneling? Drywall?) and old closets are mostly horsehair plaster. Then there was the lighting. New closets are tall and shallow, and let in a decent amount of light. Old closets are half-height and deep, with little natural light. The last variable, and the one I could do the most about, was the floors. New closets are hardwood, old closets were a selection of white, brown, and green paint.
I had some grey floor paint ("Thunderstorm") left over from the basement project. I was going to make do with that and repaint the insides of the old closets. But Thunderstorm is earmarked for painting the basement stairs once I can prop open the bulkhead for an extended time. Plus, while I'm starting loosen up, painting the insides and walls of the half-height closets had gotten downright painful. Floors, with the help of gravity are far easier.
I took a leap, returned a bunch of Ultra White paint to Home Depot and drove over to Koopman's, the local Benjamin Moore dealer.

When you've been using run of the mill paint, and you treat yourself to the Good Paint, it makes it hard to go back. It's just so much nicer to work with. I could drone on about quality paint, but I'll skip that part.

One quart of "Clydesdale Brown" later, I proved my intuition right. "Fresh Cotton" was fine, it was the floors messing with my head.

Old floor.
New floor. (New closet rod too, the trials of which will be in a separate post.)
Old floor (the back is dark green.)
New floor.
Old.
New.

It is with great pleasure that I pronounce the closets are painted and done, all but the hardware, which will be it's own post. I have to let those painted floors cure for about a week before I go stacking tupper-tubs on them, but it's so nice to walk up and just look at them. All nice and clean and done.

Wednesday, March 20, 2019

On Paint

Bear with me. I've been stuffing and unstuffing myself into awkward closet spaces since Saturday. My everything aches.

Say it with me - No one is going to be in your closets looking for brush marks.
No one.
Not your realtor, not your friends, not your mother.
No one reading this blog (Hi Mom! Hi Dad!) are in the real estate market at the level where we have to worry about a potential buyer showing up and hearing, "Oh My God, we simply can not buy this house Chad, there's brush lines in the closets!"
No one cares, as long as there's ample clean space that holds stuff.
If you're going to take it upon yourself to overhaul the closet situation in a cobbed old house - here's a tip. You're going to be wedging yourself into some very uncomfortable places. Maybe go on a diet, and take a month or two of yoga before you start. Stretch liberally.
Then, and I can't say this enough, buy the good paint.
It seems counter intuitive, right? It's just a closet, cheap paint should be fine. But here's the thing - even though you cleaned the space (contortion act #1) and then primed the space with stain blocking Kilz (contortion act #2) and laid down a coat of paint (contortion act #3) you're going to look at the uneven streaky surface and know deep down in your heart (that even though it's just a closet) you're going to have to wedge yourself back in there for a second coat of paint.
If you'd just bought the good paint with primer and crud built in, you'd be done. But no, because you got the cheap paint, you're got to get back in there for round 4, little buddy. Ready the aspirin.
At least you'll have fun stories for your chiropractor. (Shout out to Dr Dan!)

A note about color.
Warm white seemed like a good idea at the time. It was cold out, so anything that promised warm seemed like a good idea.
But you don't like warm white. It's not white. It's not yellow.
If you want yellow, buy yellow. If you want white, get white. You're stuck with it now for the closets, because you've got a gallon of it, (and no one is going to look critically in the closets anyway and if they do, get new friends.) Once the closets are done, you're going to use whatever's left for primer. Or to paint beehives. Maybe once you paint the floors, it won't be so bad, but right now, against the old green floors, it's just horrendous. You're going to have to go get warm-toned floor paint to try to salvage this, friend. Brown might work. Good luck.

But it's the first day of spring! Now we begin to see what lives here with me, other than the birds and the squirrels.
Promises of things to come.

Tuesday, March 19, 2019

Everything hurts, but everything is primed.

Painting upside down and backwards is going to keep my chiropractor in business. But all the closets are now primed. It's already brighter, if not perfect.
(It's an old house. It will never be perfect, but it can be better.)

Cleaner!

Brighter!

The plaster is going to be what it's going to be. I'm not going to waste my time tearing it out and replacing it if it's going to stay put. Some of it's a little loose, but so far so good. This is the bedroom that had the green trim.
More plaster, out in the hallway.

Primed!

Next up - the application of "Fresh Cotton" and "Thunderstorm". I hope the slightly warm white plays ok with the grey floor paint I already have from the basement door.
They are closets. I really don't need to overthink colors in the closets.

Monday, March 18, 2019

Toss those plans right out the (open) window!

I had considered re-potting plants and cleaning the basement this past weekend. The only basement thing I did was repair the chimney door (see previous post.)
Instead, because it was just so darn nice out Saturday (45 is nice, ok?) I threw open the windows upstairs to let the place air. I got to looking around. What did I need to do upstairs? I needed to put stuff away, but I was reluctant to stuff things into closets that needed attention.
Right.
Thus began the Great Closet Overhaul of 2019. I emptied out whatever had been put in the closets into their corresponding rooms and began scrubbing.
I'm pretty sure some of those closets haven't seen paint since they were constructed.
6 closets in total were scrubbed. 6 closets had holes patched. 3 are plaster over lath, 2 are... wallboard? 1 is a combination of the two. Everything is getting paint. Rods and shelves were removed! Floors were covered! (Or not. Some are painted, some are hardwood.) 3 have been primed! (Yay Kilz!)
Before:
One of the eve closets (there are two, I only took pictures of one, they look the same, with the exception that this one has a green stripe on the purlin? where as the other one was left white.) Plaster walls, some unfinished, with cleats for long-gone shelves and cracks where the house has settled. There's evidence that the green floor used to be in all the rooms on the oldest section of the house.

"New" closet in the bedroom over the kitchen. Wallboard and hardwood floors.
This narrow board floor is throughout the "new" section of the house, and appears to have a wax finish.

Old built-in closet in the main bedroom, over the living room.
This heating duct is the only source of heat for the entire second floor.

The other "new" closet. This one has a lock, which is a little curious.
I didn't take a picture of the "combo" closet because there's really no good way to photograph it.
This will need to be a multi-day process. I'll post "primed" pictures as I finish up that step.
(I also need to get some new closet rod.)

The basement can wait for weather so warm I want to be in the cold, damp basement.

Sunday, March 17, 2019

Chimmy Door Conclusion

As I mentioned in a previous post, last weekend when I was at the farm my dad was able to trim the bottom flange off the chimney door. This left a raw surface where he cut it. He and mom suggested hitting it with some Rustoleum to give it a fighting chance.
I was pretty sure I had some black. But no.
Then I thought I grabbed the clear. But no.
Which is how I wound up with a white chimney clean out door.
A white door on arguably the dirtiest place on the house. Oh well. At least it's clean and functional.
Once the paint dried, I assembled the bits I needed.
A bag to hold the junk I'll dig out of the chimney, a trowel, the door, and a tube of JB Weld,
which claims it will adhere to metal and concrete.
Since this door doesn't service an active fire chimney (it's the exhaust for the furnace), I was comfortable using an adhesive instead of messing around with mixing up mortar. The door is only mildly functional - it is an access - but it's not as necessary as if this was still a wood or coal chimney.
Opened and cleaned.
I shoveled out the debris. There wasn't very much, which is good. I'm going to skip how I cleaned out the old mortar from around the hole. Let's just say you shouldn't do it the way I did it, but I wasn't about to run out to Lowes again. The old mortar was a little more stable than it looked and took some persuasion. I could have sworn I had a cold chisel around, but I couldn't find it to save myself.
I never liked that screwdriver anyway.

Fits!
 It took some fussing and persuading, but I got it in! After a dry fit, I mixed up the JB Weld and slathered it around the back of the flange and pressed it into place. For my purposes, I probably could have gotten away with just dry fitting it, but it felt better to have it stuck there. I pointed a space heater at it for a while so that it would cure a little faster. (It's kind of chilly in the basement.)
DaTa!
Check that off my list!

Wednesday, March 13, 2019

Planning!

I seem to have this weekend free, so i'm trying to do some planning now for what I want to get done with it.
• First, my Dad was able to cut down a chimney clean out door for me, so hopefully it fits, and I can get that wrapped up! Super handy that he has big tools - I would have been at it forever trying to hack away at it with my Dremel.
• Two - I have some plants that are in desperate need of re-potting. Really, not even re-potting, they just need new dirt. I over watered my jades this winter, and now they are super sad, and the Christmas and Easter Cactus look like they could use it too.
• Three - Saturday and Sunday both look mild enough where I won't mind opening and closing the bulkhead. I might take a crack at cleaning out the sketchy back of the basement. It will make me feel better about it. There's going to be a whole lot of lifting the shop vac out to empty it if that's the case. I may also see about some LED lights for over there. More light will make it feel better.
• Four - Brush? Maybe some burning? I have to figure out the burn permitting process here in Grafton. (If it isn't too windy.)
• Five - apply oil to the stubborn areas of the mantle and finish stripping that.

I'll see how much I can get through,, and how much more I'll add!

Monday, March 11, 2019

Things in the Walls

While breaking open the faux-fireplace, stuff started falling out of the wall. Mostly plaster and nails, but an interesting assortment of stuff.
An interesting assortment of cut nails - two distinct sizes, after I sorted them out. The ones that look even sorter than the sort ones are actually broken off. That long piece of wire to the left is a wire nail, installed using a gun. Many of them still had plastic clinging to them from the carrier that feeds the nails into the gun.

Close ups!
Wallpaper fragments. I haven't seen this wallpaper anywhere else in the house (still hanging). I think these are two different wallpapers, but the bit on the left could just be water stained. It seems to have a pretty distinct blue cast though.

Newspaper bits - To the left - want ads for "a young man", spinners, and bicycle repair men. The right has a bit of an illustration on it, but I can't make out anything really.

Plaster colors - At some point, the plaster was dark green, blackish, reddish brown, and then the light green.

There were also strips of fabric - linen I think, but I could get a decent picture of the texture. There was also a bit of clear glass bottle bottom, with no distinct features save for a few little pips on the outside edge which indicate a machine made bottle for production-line sort of use.
I don't have much desire to rip out any more horsehair if I don't have to. It's excellent in regard to sound deadening, and it supplying me what little R value my walls currently have. But it is always interesting to see what shakes out when you do open them up.

Monday, March 4, 2019

Curiousity killed the ...wall? (part 1)

Well. Sort of.
Last week I started stripping the mantle in the living room. I'd borrowed Ian's SpeedHeater (a fantastic device, highly recommend for paint removal.)
A few things I learned about SpeedHeatering:
1) it's better left to open-window season.
2) it's easy to singe the wood if you linger too long, or overlap areas you're treating. Count to 20, no more, no less.
3) The cat would snuggle with it if I left it where she could cozy up to it. Which would be bad, because she's flammable.
There's a ton of layers, most of them alligatoring. Mostly versions of whites, tans, browns, and the possibility of light green, but I have reason to believe that was actually wall color that was brushed over from the wall - I only found it along the wall edge.
White, white, tan, green!, brown, different tan, more white.

Over the weekend, I continued stripping it while passively watching mindless Marvel movies. Which brought us to this point:
A little singed on the right side, nothing a little sanding and a coat of Kilz won't fix.

The irony is that there some folks out there who'd pay good cash money for the mantle in just this condition. Rustic. Farmhouse. That's not really where I want to take this room, so it'll get a nice coat of paint later. I'm thinking cozy in this room.
Sunday Ian came over, and while discussing the mantle, we got curious about what exactly was under that faux brick board. One thing led to another... well. I'll tell the story in pictures.

Where we start.


The faux brick was both glued and wire nailed to this curious sheet of black metal.
Here we see Ian trying to extract the 3" wire nails. They were very thorough with the nails.

Under the metal, more metal! A tiny metal patch made out of the same pebbled textured metal as lining of the pantry closet,
over this delightful green painted crumbling plaster.

Under the metal patch was this pipe, a remnant of the original heat source for this room. Chances are very likely that a parlor stove once sat right in front of this mantel. Which makes sense, considering the molding all looks quite original, including where typically a fire box could have been, but there's nothing to indicate there ever was one.
At the back of the pipe, you can see where the cement block chimney now runs. This pipe never tire into this new chimney. It's the exhaust for the furnace now.
It's also hard to tell, but there's brick behind the plaster! That's very exciting! I would love to have an exposed brick face if I can't have a fireplace.
Sure, I get bricks. 6 of them. Just enough to create a fire-resistant ring around the stove exhaust pipe.
Which, sadly, makes sense.
Other than the bricks, there is cut lath, cut nails, horsehair plaster (that leads me to believe someone owned a red chestnut horse), and some interesting rough-cut, live edge wood bracing.
Where we ended that day, all cleaned up, plaster and lath bagged for garbage, braces and brick exposed.

Now, to decided what I want to do with the space. I have some ideas. It will incorporate tile and brick, I believe. I've investigated shallow bioethanol fireplaces, but they aren't quite shallow enough for this application. (They also look terribly modern.) Too bad.
Until then, I've propped the faux brick over the hole so that the cat doesn't get any wise ideas about exploring.
Until next time...

Sunday, March 3, 2019

A quick project that was.

Come to find out, neither Home Depot nor the local fireplace supply place carries chimney clean out doors. I have to go to a masonry supply place (of course) to get one. The fireplace guy said it would be likely easier to trim the flange on the door than to trim the cinder block, so at least I got that much out of the day.
I did set about fixing the crack in the chimney though.
vertical crack.
I got out my Dremel and grinder attachment and widened it a bit to receive the patch material. Made sure to wear eye protection and a face mask!
Hard to tell, but now it's a wider vertical crack!
As luck would have it, I ran into the Quickcrete supplier guy at Home Depot the other day and asked him what product he had that would be easy enough for me to handle to do this job. He pointed me to a mid-cost tube material. We'll see how well it works. It was super stiff to apply, but it looks like it did the trick. Time will tell how well it holds up.
Filled!
One thing, done.

Friday, March 1, 2019

"A Simple Project"

More exciting holes!
I decided one thing I'm going to do this weekend is deal with the chimney clean out door. That's the little door at the bottom of your chimney that you open to clean out all the junk that gets swept down when it's cleaned. Mine is on the chimney that serves as the furnace exhaust, so it doesn't see heavy use, but still. It should be better. Usually these doors are cast iron, though now I see some on the market that are stainless steel.
This is how the door looked:
Yup. More tape. Electrical this time!

I was hoping to reuse the door that was there - just clean it up/reset it.
After prying it out of the hole (with only the force of my pointer finger) it became apparent that that was not going to work. A big part of the frame of the door is no longer there.
The back of the door (flopped over vertically).
Notice how the frame is gone at the top (would have been the bottom) and along the right (opening) side.
I'm going to need a new door. Not a big deal, they are between $30-$50. I  just need to know what size to get. I'll measure the hole. Terrific. Progress!
The hole! An 8" x 8" hole!
Ok! Now we're moving! I'll just get on the internet and figure out where to get one!
Oh. But they are all actually bigger than 8"x8". That's the door opening size.
They all have frames that extend about an inch beyond the hole.
Which would be fine, except this hole is right above that little cement platform.
Which would interfere with the frame.
Which is why someone cut the bottom of the frame off.
Because otherwise it won't fit.

SIGH.

Until then!
Gaff Tape fixes everything.
The spirit of Ms Mary adheres.